If you have a Google Home Mini device and it is not working properly, you can reset it. If you don’t know how to factory reset Google Home Mini, you will easily learn to reset the device by the end of this post.
If you’re an internet user with a smartphone or computer, you’ll know that the world has changed. The internet is now in our pockets, and it’s on our coffee tables. It’s even in our cars and homes with Google Home Mini.
The Google Home Mini is everything a smart home should be: small, affordable, and accessible to everyone. It is the ideal device for a family who will use it for entertaining guests and upstairs without an outlet.
How to Factory Reset Google Home Mini
Google Home Mini (1st Gen)
Google Home Mini is Google’s compact and inexpensive smart speaker. It listens to voice commands, plays music, reads the news, answers questions, and other tasks when prompted.
Step 1: First, plug in the power adapter and switch off the mic
Step 2: Press and hold the reset button on the back of your Google Home Mini for about 15-20 seconds until you hear a short chime sound through your speakers (it’s different from an alarm sound). If the light on top of the speaker is solid white, you’ve successfully reset it.
Step 3: Unplug your Google Home mini device from the wall.
Step 4: Wait 10 seconds. Plug the power adapter back in. Complete this step within 60 seconds, or you will have to start again. If the power light is blinking white, your device has been reset successfully and will begin its initial setup process when you plug it in again later.
Google Nest Mini (2nd Gen)
Step 1: First, plug in the power adapter and disable the mic
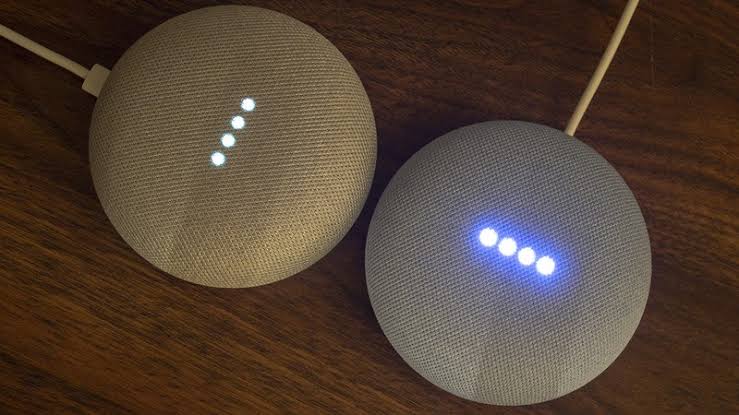
Step 2: First, be sure your device is connected to the internet. Press and hold down the sensor of the nest mini (Put your finger in the center of the Nest Mini for 20 sec where the led blink). Within 5 seconds, it will start the factory reset process, and in the next 12-15 seconds, this device will be completely reset.
Step 3: Enable the mic after the reset process is complete
Step 4: Now your device is back to the default condition, so unplug your Google Nest mini device from the wall. Whenever next time you use Google Nest Mini, don’t forget to connect it with your device.
In this way, you can factory reset Google Home Mini and Google Nest Mini. I hope now you all understand how these google devices are reset.
Note: When you reset your speaker, all customizations and personalized station lists will be erased. If you want to keep some of your settings, like your Wi-Fi network and favorite radio stations, create a backup before you factory reset.
FAQs
What is a factory reset?
Factory reset is the process of returning the Google Home Mini back to it’s original state and making it like new. This will erase all previous settings and customized information, such as voice pairing and your Wi-Fi network details.
Where is the reset button on Google Home Mini?
The reset button on Google Home Mini is located on the back of the device, next to the power cable.
Why would I want to factory reset my Google Home Mini?
Somebody may have changed the device’s language to a language that you don’t speak or understand. The device might not be functioning as expected. You’re selling or giving away this device and need it to reset to factory settings before handing it off to a new owner.
What can I say to my Google Mini?
You can say whatever you want to your Google Mini. Here are some basic commands that may help, but you can also try out the demo on the Google Assistant app:
What time is it?
What’s the weather like today?
Play my favorite song.
Turn on the TV.
Turn off the TV.
Conclusion
If you bought a new Google Home Mini and want to factory reset it before you start using it or for some other reason. This is by far the easiest way to do this. Just follow the steps in this article, and you’ll have your speaker back up and running in no time! If you need more help with anything else, please feel free to reach out to us using the comments section below! We’ll do our best to get back to you as soon as possible.

